In this guide, I will show you how to stake Cardano ADA on your Ledger hardware wallet in 9 simple steps. Includes images for every step.
Advantages of staking ADA
- The minimum staking amount is low — only a few ADA are needed. However, you cannot decide how much to stake, you need to stake the full amount you have in your wallet.
- No locking-up period. You can unstake the ADA you staked at any time.
- The staking fee is low, only 3% with AdaLite’s staking pools.
- Easy to set up. You can stake with Ledger, no need to send your ADA to a centralized exchange.
Disadvantages of staking ADA
- The reward period can be long. With the staking I just made, the rewards will be sent to my reward account on the 1st of May 2023.
- Not really a disadvantage, but you need to set up and prepare a few things before you can stake. In the following, I will show you how to do that.
How to stake ADA on a Ledger hardware wallet
1) Open the Ledger Live App on your computer, and upgrade to the latest version. The is normally a reminder on the top of the Ledger Live window.
2) Connect your Ledger to your Ledger Live App. Enter your password.
3) In case you haven’t done so already, install the Cardano App on your Ledger. Then, open the Cardano App from your Ledger.
4) Go to adalite.io and pick the option ‘Hardware Wallet’.
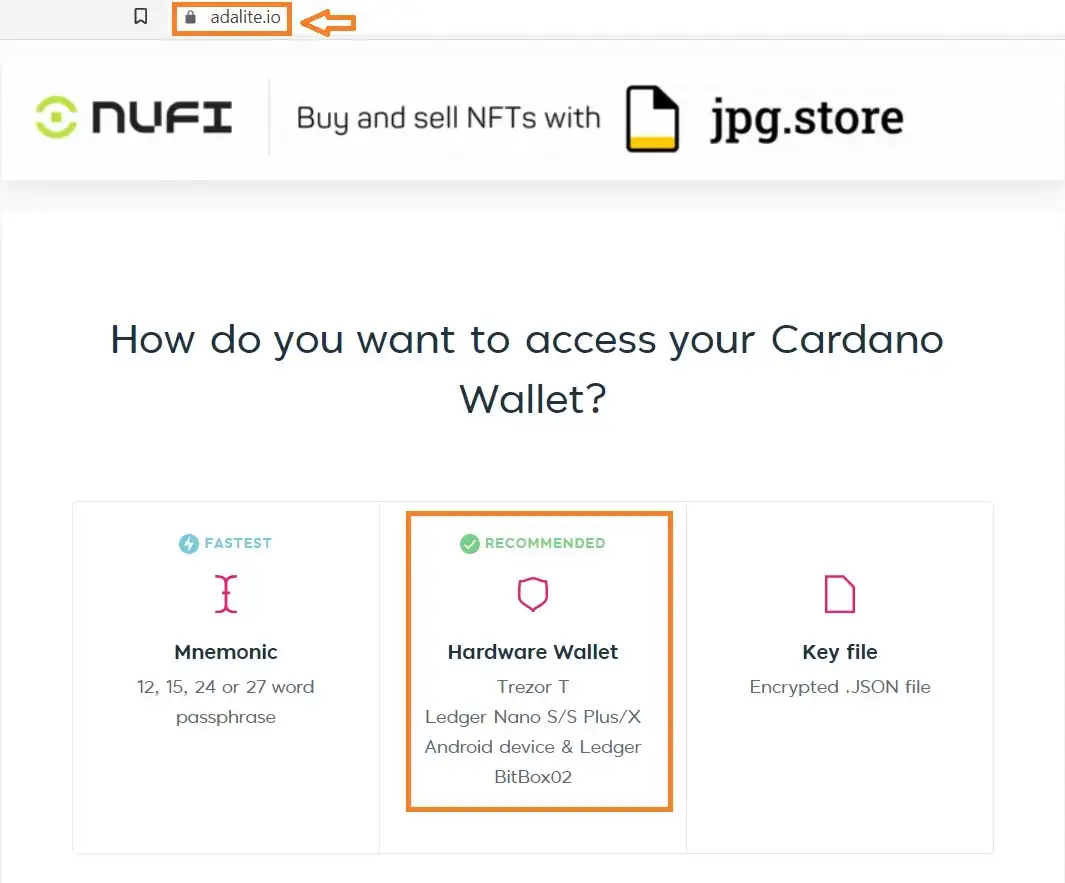
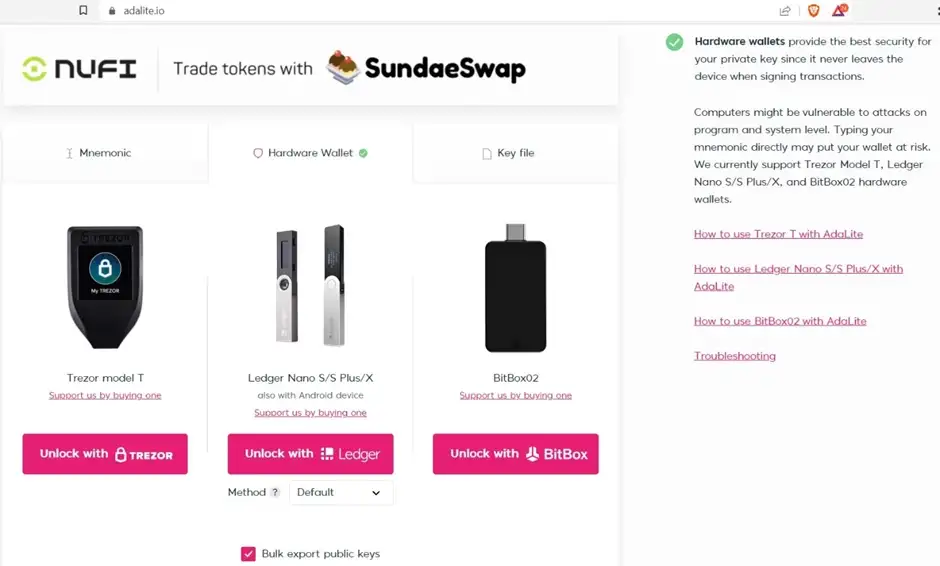
5) Then you need to choose the hardware wallet you are using to stake ADA. I use Ledger, so I picked the middle one. Then there will be a window popping up, you need to select the Ledger device and click ‘connect’. If there is an error message appearing in this step, it could be that you have left your Ledger device too long without doing anything, and you need to re-enter your password to unlock your Ledger device and open Cardano ADA App again. Try to connect to AdaLite again when you see the message ‘Cardano is ready’ on your Ledger’s screen.
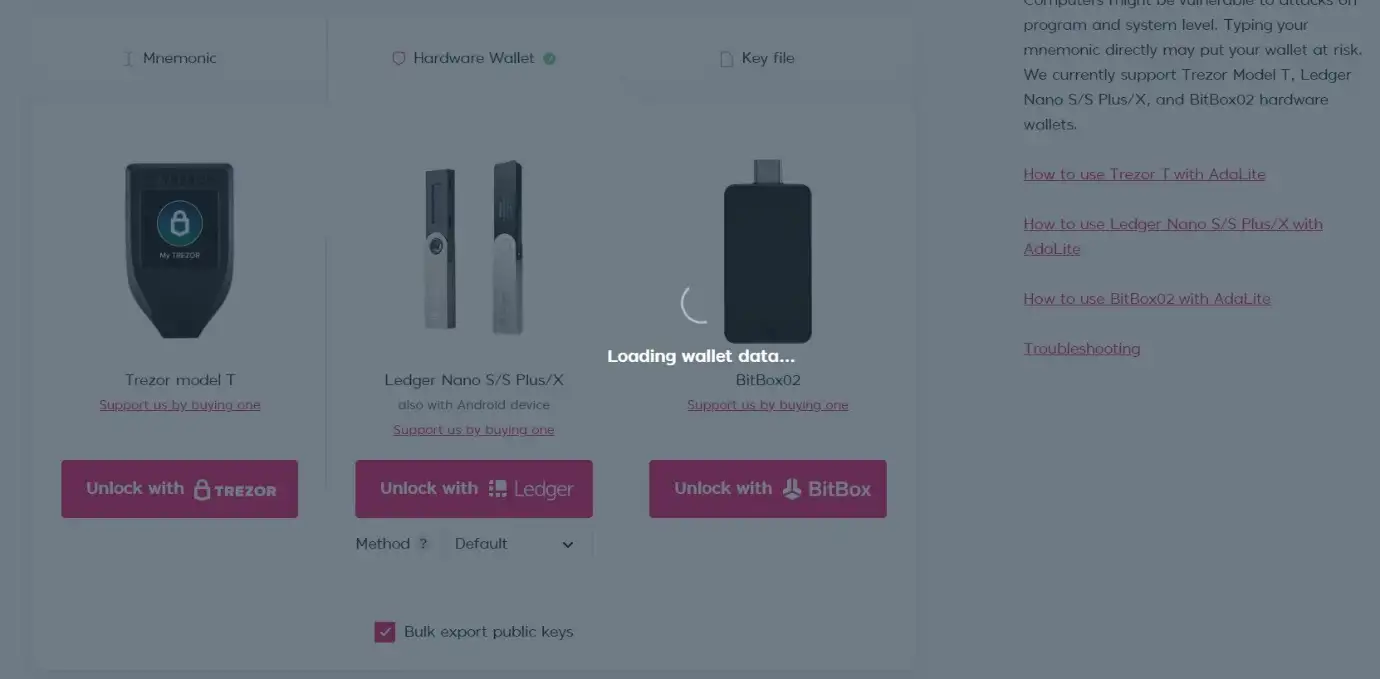
6) If the connection is successful, you will see the screen saying ‘Loading wallet data’. Here you need to confirm on your Ledger device to export public keys.
7) After this, the connection is established. You can see the balance of ADA on your screen. Go to the ‘Staking’ tab.
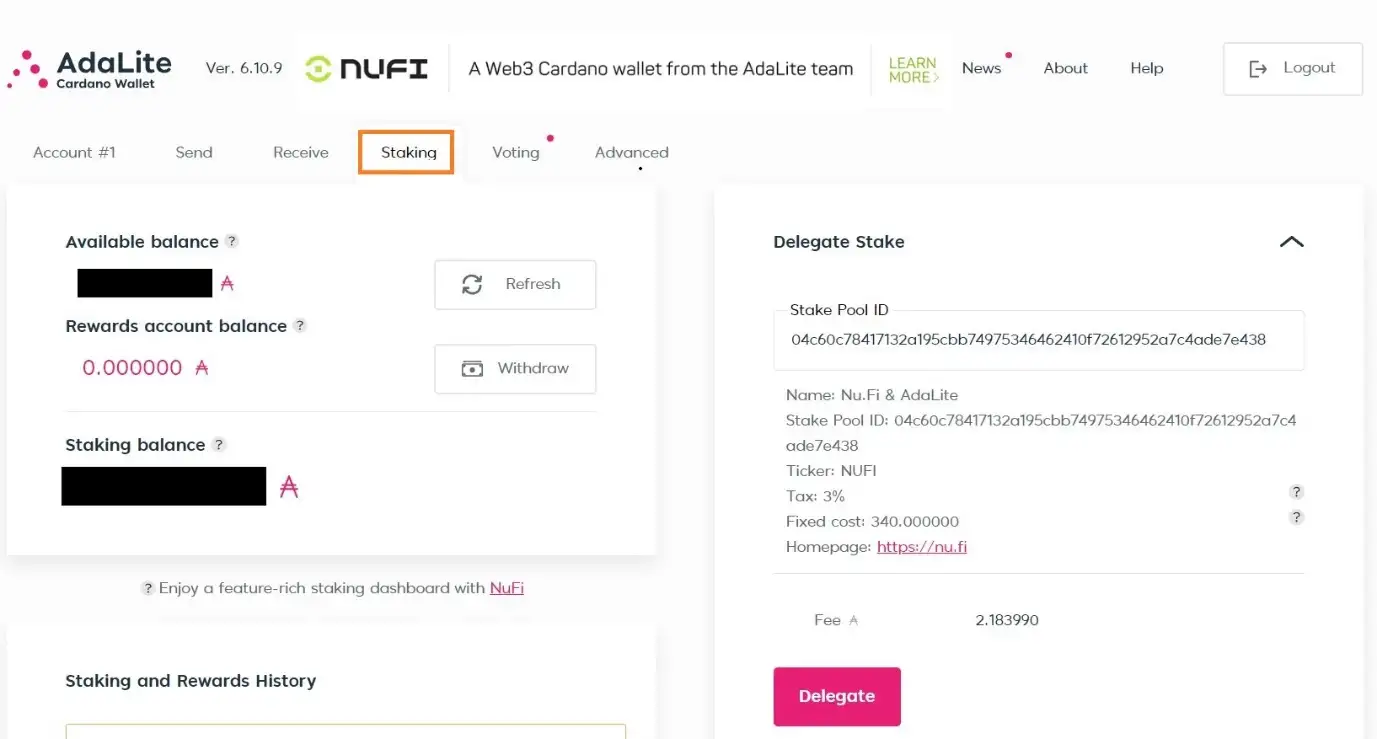
8) AdaLite offers multiple staking nodes. Pick one or simply use the default one that appears on the screen.
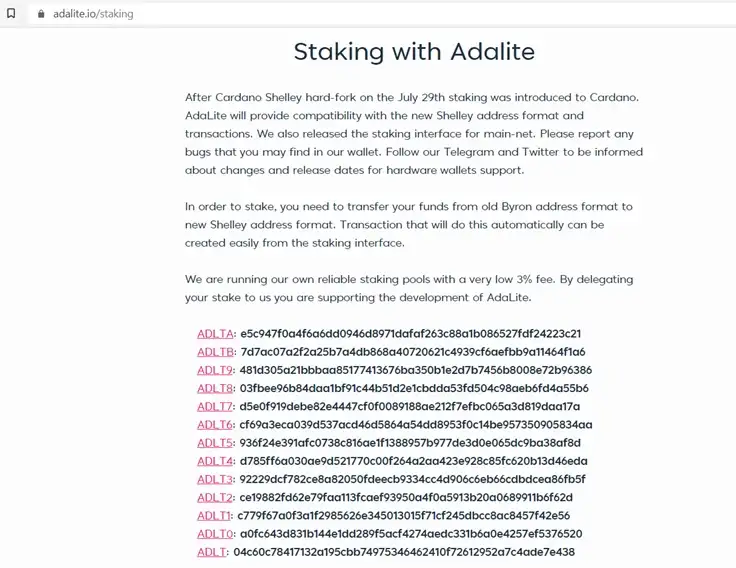
9) Click the ‘Delegate’ button. Then confirm the transaction on your Ledger device. When it is done, you will see the ‘Transaction successful’ notification.

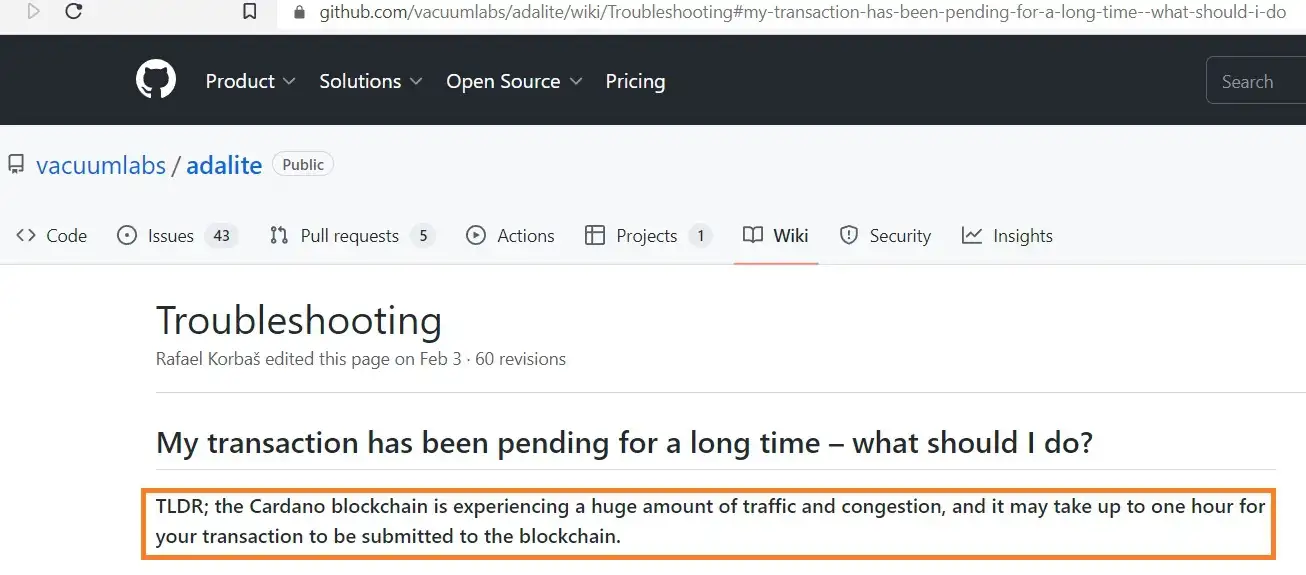
If it takes too long for the transaction to go through after you have confirmed the transaction on your Ledger, this is probably due to high on-chain traffic.

And with this, you are done!
As you can see in the image above, it now shows that there is still more than 4 months’ time until the next reward will be transferred into my rewards account.


All Comments